 Save Pin
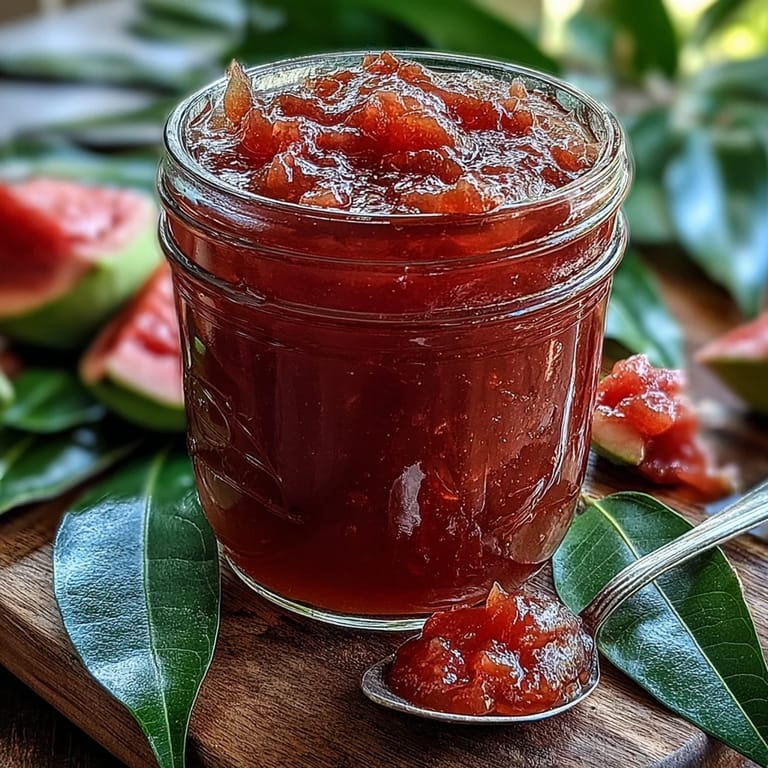
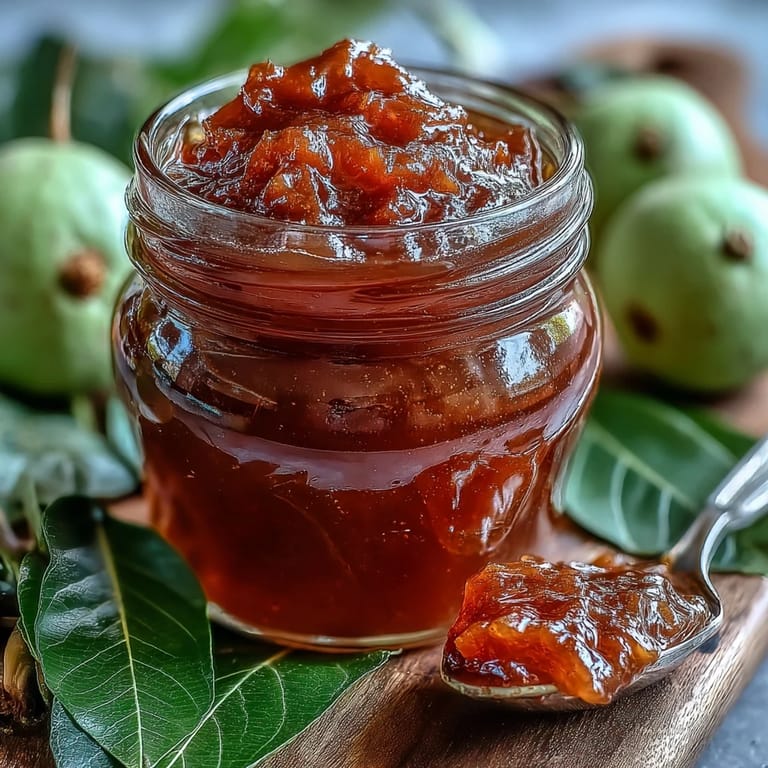
 The first time I encountered fresh guavas was at a farmers market in Miami, where the vendor insisted I taste one immediately. That floral, pear-like sweetness with hints of strawberry stopped me in my tracks. I bought way more than I could eat fresh, and somewhere between my kitchen counter and an overflowing fruit bowl, these preserves were born. Now every time that tropical perfume fills my kitchen while it simmers, I am right back at that market stall.
I once made a double batch during a rainy weekend and ended up delivering little jars to everyone on my street. My neighbor later told me her daughters started calling it the pink stuff and asked for it on everything from pancakes to ice cream. Something about homemade preserves feels like giving someone a little piece of your kitchen magic.
Ingredients
- 1.5 kg ripe guavas: Choose fruits that yield slightly to gentle pressure, with skin thats turning from bright green to yellow-green
- 700 g granulated sugar: This amount preserves the guavas natural sweetness while creating that jammy set we are after
- 2 tablespoons fresh lemon juice: Essential for brightness and helping the preserves reach their proper consistency
- 1 cup water: Just enough to help break down the fruit initially without diluting the final flavor
Tired of Takeout? 🥡
Get 10 meals you can make faster than delivery arrives. Seriously.
One email. No spam. Unsubscribe anytime.
Instructions
- Prep the guavas:
- Wash the fruit thoroughly, cut into quarters, and scoop out those seeds with a spoon while keeping as much flesh as possible
- Soft everything up:
- Combine the guava flesh with water in a large saucepan, bring to a boil, then simmer for 15 to 20 minutes until the fruit is completely tender
- Break it down:
- Mash the softened fruit with a potato masher or give it a quick blitz in the blender, depending on how smooth you like things
- Get rid of the seeds:
- Press the mixture through a fine sieve or food mill, working patiently to extract every bit of pulp while leaving seeds behind
- Add the sweet and bright:
- Return the pulp to your saucepan, stir in the sugar and lemon juice until everything dissolves
- Start the transformation:
- Bring to a boil over medium-high heat, stirring constantly so nothing sticks to the bottom
- Let it thicken:
- Reduce to medium and simmer for 35 to 45 minutes, stirring frequently until it coats the back of a spoon
- Test your work:
- Drop a small amount on a chilled plate, give it a minute, then push it with your finger, if it wrinkles, you are done
- Skim and jar:
- Remove any foam from the surface, then pour into sterilized jars with a bit of headspace and seal immediately
 Save Pin
 My friend Maria puts this on her morning toast with cream cheese, and she swears it is what gets her through gray February Mondays. There is something about that first taste of tropical sunshine that makes everything feel a little more possible.
Getting the Texture Right
I have found that patience during the simmering stage pays off enormously. Rushing this step means you will end up with something closer to syrup than preserves, but letting it go that full 45 minutes gives you that perfect, spreadable consistency that holds its shape on a spoon.
Serving Ideas Beyond Toast
These preserves are secretly incredible alongside sharp cheddar or aged gouda on a cheese board. The sweet-tropical contrast against salty, funky cheese creates this little moment of perfection that always makes guests pause and ask what they are eating.
Storage and Make-Ahead Tips
If you are planning to keep these preserves for longer than a few months, process the jars in a boiling water bath for 10 minutes. For shorter-term storage, the refrigerator method works perfectly, and the preserves actually continue to develop flavor over the first couple of weeks.
- Label your jars with the date so you can track how long they have been in the fridge
- Use a clean spoon every time you dip into the jar to prevent introducing bacteria
- If any jar shows mold or smells off, trust your instincts and discard it entirely
 Save Pin
 There is something deeply satisfying about turning a pile of fresh fruit into something that will brighten breakfasts for months to come. Happy preserving.
Recipe FAQs
- → How do I know when the preserves are ready?
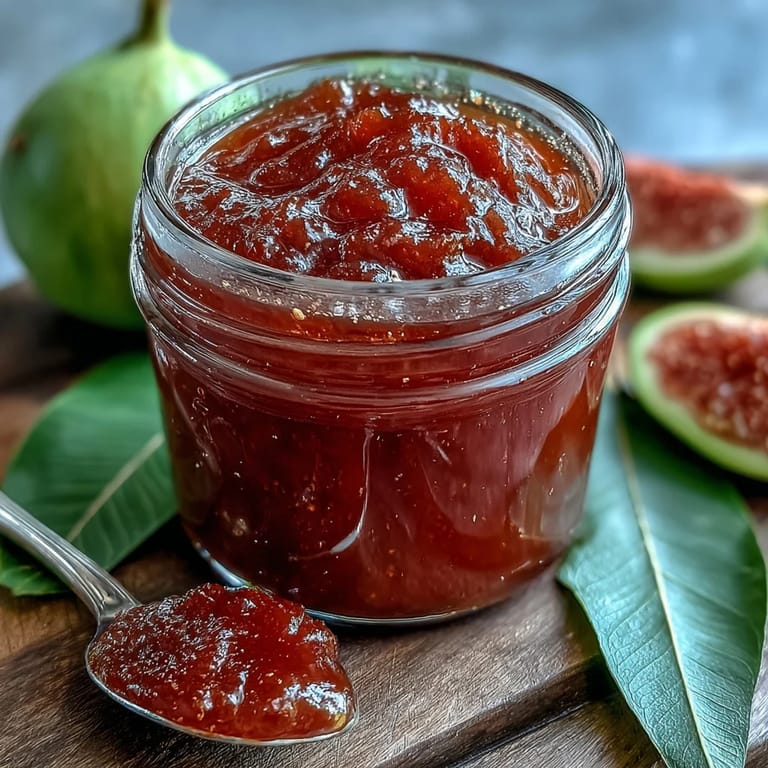
Test doneness by placing a small amount on a chilled plate. If it wrinkles when you push it with your finger, it's reached the proper consistency. This usually takes 35-45 minutes of simmering.
- → Can I make the preserves chunkier?
Absolutely. Reserve some guava pieces after sieving and fold them back into the mixture before jarring. This creates a preserves with more texture and visible fruit pieces.
- → How long will these preserves last?
Properly sealed and stored in the refrigerator, guava preserves will keep for up to 3 months. For longer shelf stability, process jars in a boiling water bath.
- → What pairs well with guava preserves?
These preserves shine with sharp cheeses like aged cheddar, on buttered toast or fresh bread, and as a filling for pastries. They also complement creamy cheeses and pair nicely with dry Riesling wine.
- → Can I substitute the sugar?
You can adjust sweetness to taste or substitute part of the granulated sugar with honey. Note that honey may slightly alter the flavor profile and setting time.
- → Do I need to peel the guavas?
No need to peel the guavas. The skin contains valuable pectin and color. Cooking and sieving will break it down completely, resulting in smooth, vibrant preserves.