 Save Pin
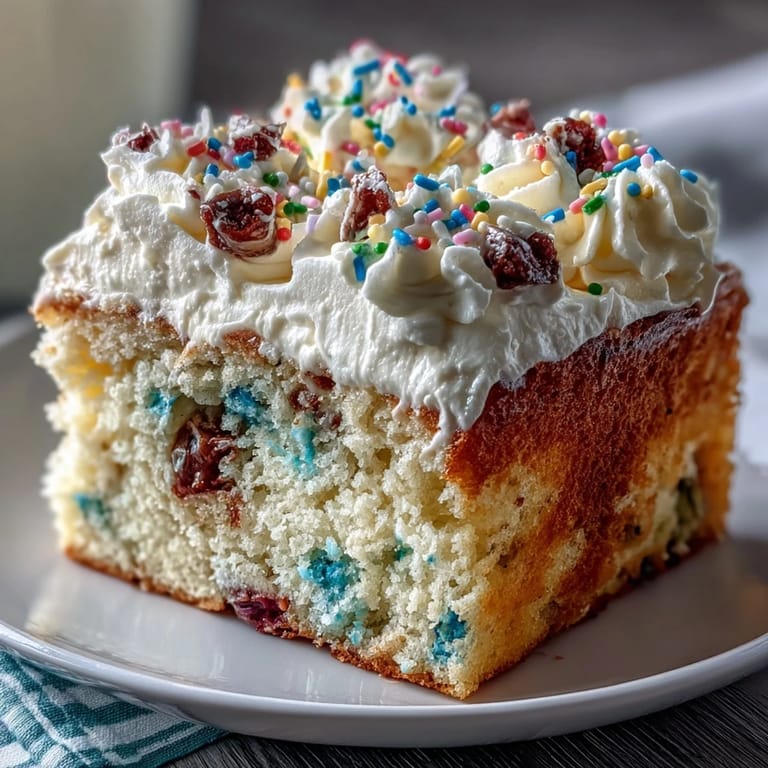
 My neighbor knocked on the door one April afternoon holding a box of pastel sprinkles she'd found at a clearance sale, grinning like she'd discovered treasure. She wondered aloud if I could turn them into something fun for her daughter's birthday party, and honestly, I'd never made a funfetti cake from scratch before—only the box mix kind as a kid. That simple question sparked something, and I found myself mixing up this vanilla cake that evening, watching the rainbow jimmies swirl through the pale batter like edible confetti. The result was so much better than I expected: tender, buttery, bursting with that nostalgic sprinkle magic but elevated with real vanilla and a cloud of pastel buttercream that made everyone at the party stop and smile.
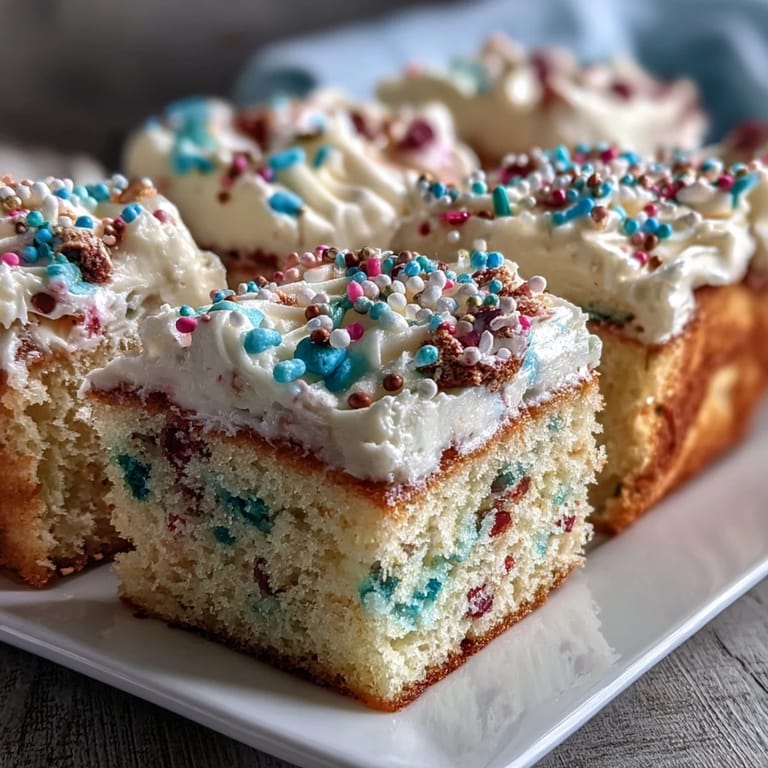
I'll never forget pulling the second layer out of the oven and hearing my kitchen fill with this warm, comforting vanilla scent while sunlight streamed across the counter. My partner wandered in asking what I was making, and when I showed him the crumb structure—tender, even, with those little pops of color throughout—he immediately asked if we could make it again next month. There's something about sharing a fresh cake you've actually made that changes how people experience it; suddenly it's not just dessert, it's a small gift wrapped in butter and care.
Ingredients
- All-purpose flour (2 1/2 cups): Measure by spooning and leveling, not scooping straight from the bag—this prevents packing the flour down and keeps your cake tender instead of dense.
- Baking powder and baking soda (2 1/2 tsp and 1/2 tsp): These two work together to create lift and a subtle tang that brightens the vanilla without any chemical aftertaste.
- Unsalted butter (1 cup for cake, 1 1/2 cups for frosting): Room temperature is essential; cold butter won't cream properly and you'll end up with a grainy texture instead of fluffy cake.
- Granulated sugar (1 1/2 cups): This dissolves into the butter, creating that light and airy crumb structure that makes the cake feel almost cloud-like.
- Eggs (4 large, room temperature): Cold eggs won't incorporate smoothly and can break the emulsion—let them sit on the counter while you prep everything else.
- Pure vanilla extract (2 tsp for cake, 2 tsp for frosting): Real vanilla makes such a difference; the imitation version can taste a bit flat and chemical by comparison.
- Whole milk and sour cream (1 cup milk, 1/2 cup sour cream): This combination creates moisture and tenderness—the sour cream adds a subtle tang that deepens the vanilla flavor beautifully.
- Rainbow sprinkles jimmies (2/3 cup): Use traditional jimmies, not nonpareils, because they stay vibrant and don't bleed color into the batter the way smaller sprinkles sometimes do.
- Powdered sugar (5 cups, sifted): Sifting removes lumps so your buttercream stays silky smooth and spreadable without grittiness.
- Food coloring gels (pastel shades): Gel colors are more concentrated than liquid, so you get true pastels without thinning out the frosting consistency.
Tired of Takeout? 🥡
Get 10 meals you can make faster than delivery arrives. Seriously.
One email. No spam. Unsubscribe anytime.
Instructions
- Prepare your pans and preheat:
- Set the oven to 350°F and give it time to fully preheat—this ensures even baking. Grease both cake pans generously and line them with parchment paper circles; the paper keeps the sides from sticking and makes turning out the cakes so much easier.
- Combine your dry ingredients:
- Whisk flour, baking powder, baking soda, and salt together in a medium bowl, making sure everything is evenly distributed. This step prevents lumps and ensures the leavening agents spread throughout the batter uniformly.
- Cream butter and sugar until fluffy:
- Beat them together for about 3 minutes until the mixture looks pale, light, and almost cloud-like—this is where you're beating air into the batter, which creates that tender crumb. You'll know it's ready when it leaves a trail when you lift the beaters.
- Add eggs one at a time:
- Beat well after each egg so it incorporates fully before adding the next one; rushing this step can cause the batter to look broken or separated. Each egg should take about 30 seconds to fully incorporate.
- Mix in the vanilla:
- Stir in the vanilla extract until just combined—it only takes a few seconds. The vanilla is now part of your base, so every bite of cake will have that warm, comforting flavor.
- Whisk milk and sour cream together:
- In another bowl, whisk them until smooth and combined so they'll blend seamlessly into the batter. This mixture should look like slightly thick milk.
- Alternate the dry and wet mixtures:
- Add the flour mixture in three additions, alternating with the milk mixture and starting and ending with flour—this prevents overmixing, which would toughen the cake. After each addition, beat on low speed just until you don't see any dry streaks of flour.
- Gently fold in the sprinkles:
- Use a rubber spatula to fold them in carefully so they stay distributed and don't sink to the bottom. The folding motion is gentle—you're trying to preserve the air you just beat into the batter.
- Divide and bake:
- Pour the batter evenly between your prepared pans and smooth the tops with a spatula. Bake for 28 to 32 minutes until a toothpick inserted into the center comes out clean or with just a few moist crumbs clinging to it.
- Cool in the pans, then transfer:
- Let the cakes rest in their pans for 10 minutes so they set slightly and won't break apart when you turn them out. Then invert them onto a wire rack and cool completely—this usually takes about an hour.
- Beat butter until smooth and creamy:
- This takes about 2 minutes with an electric mixer and makes the frosting lighter and easier to work with. The butter should look pale and fluffy, almost mousse-like.
- Incorporate powdered sugar gradually:
- Add it slowly on low speed, mixing until it's all combined—going too fast will send sugar flying everywhere. Once it's incorporated, turn the mixer to high speed.
- Add milk, vanilla, and salt, then beat until fluffy:
- The milk loosens the frosting to a spreadable consistency while vanilla echoes the cake's flavor. Beat on high for 2 to 3 minutes until it's light, fluffy, and almost doubles in volume.
- Divide and tint your buttercream:
- Spoon equal amounts into four separate bowls and use gel food coloring to tint each one a different soft pastel shade. A little food coloring goes a long way, so start with a toothpick dab and add more if you want deeper color.
- Decorate with swirls and color:
- Dollop or pipe the different colored frostings onto your cooled cake layers, letting the colors blend and swirl together for that whimsical marbled look. Work slowly and enjoy the creative moment—this is where your cake becomes truly yours.
 Save Pin
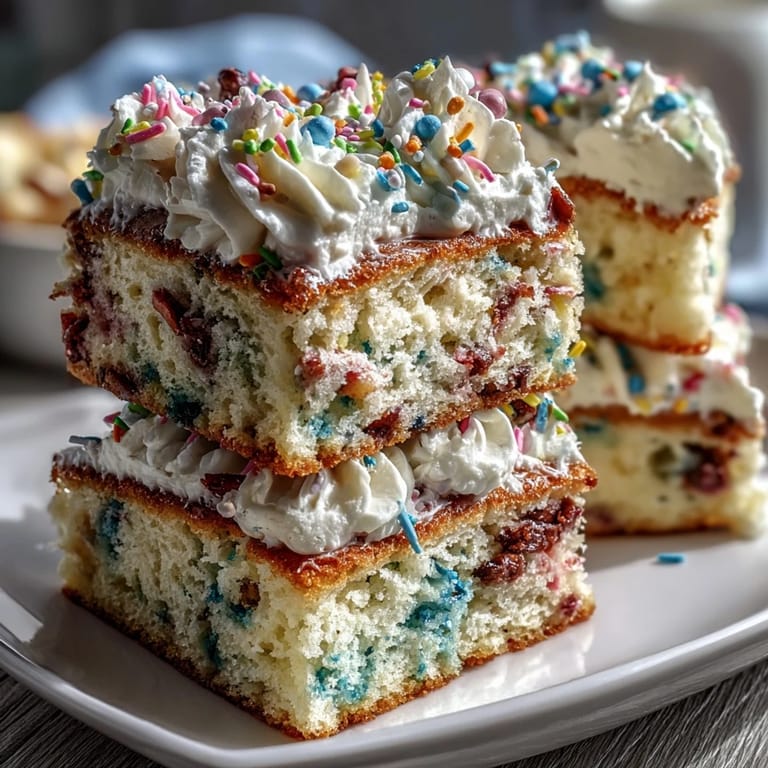
 The moment that sticks with me is setting this cake on a dessert table at a small gathering and watching people's faces light up when they realized it was homemade and also fun—not trying to be fancy or serious, just joyfully colorful. Someone asked for the recipe before they'd even taken a second bite, and I realized then that sometimes the best food isn't complicated; it's just genuine happiness on a plate.
Why Fresh Vanilla Matters Here
Funfetti has a reputation for being artificial and overly sweet because so many versions lean on box mixes and artificial flavoring. Making it from scratch with real vanilla extract transforms the whole experience—the sprinkles stay the playful, nostalgic element, but the cake itself tastes sophisticated and buttery instead of chemical. The first time you taste the difference, you'll understand why it's worth the extra few minutes of mixing.
The Secret to Pastel Frosting That Looks Intentional
Store-bought frosting tinted with gel coloring never quite captures what you can do at home because the frosting base is already so thick and dense. When you make buttercream from scratch, it's airy and fluffy before you tint it, which means the food coloring distributes evenly and creates that dreamy, soft color that looks effortlessly beautiful. Those pastel shades—pale pink, butter yellow, periwinkle, lavender—they feel spring-appropriate without being childish, which is exactly the sweet spot between fun and elegant.
Storage and Make-Ahead Tips
You can bake the cake layers a day ahead and store them wrapped tightly in plastic wrap at room temperature, or freeze them for up to a week if you want to spread the work out. The buttercream actually benefits from sitting overnight in an airtight container because the flavors meld slightly and it becomes even smoother. The whole assembled cake keeps well for three days in a cool room, though the frosting softens faster in warm weather, so if it's hot out, refrigerate it and let it come back to room temperature before serving for the best texture.
- Make sure any cake layers are completely cool before frosting, or the buttercream will melt and slide right off.
- If your food coloring gels seem too dark, remember that tinting buttercream takes less color than you'd think—add a tiny bit at a time with a toothpick to avoid overshooting the pastel effect.
- For cupcakes instead of a layer cake, divide the batter among muffin liners and bake for 22 to 24 minutes, then frost and decorate the same way.
 Save Pin
 This cake is one of those recipes that reminds you why baking from scratch matters—not because it's difficult, but because it's genuinely joyful to make and eat. Every bite tastes like someone cared enough to mix, measure, and decorate with intention.
Recipe FAQs
- → What type of sprinkles works best?
Use jimmies or rod-shaped sprinkles to avoid color bleeding in the batter. Avoid nonpareils for a cleaner look.
- → Can I substitute sour cream?
Yes, Greek yogurt is a great alternative providing similar moisture and tang.
- → How do I achieve the pastel buttercream colors?
Divide the buttercream into batches and tint each with gentle amounts of food gel coloring to get soft pastel shades.
- → How to prevent the sprinkles from sinking?
Fold sprinkles gently into the batter at the end and avoid overmixing to keep them evenly distributed.
- → What’s the best way to layer and decorate?
After cooling, dollop or pipe the colored buttercream onto cake layers and swirl lightly for a marbled pastel effect.