 Save Pin
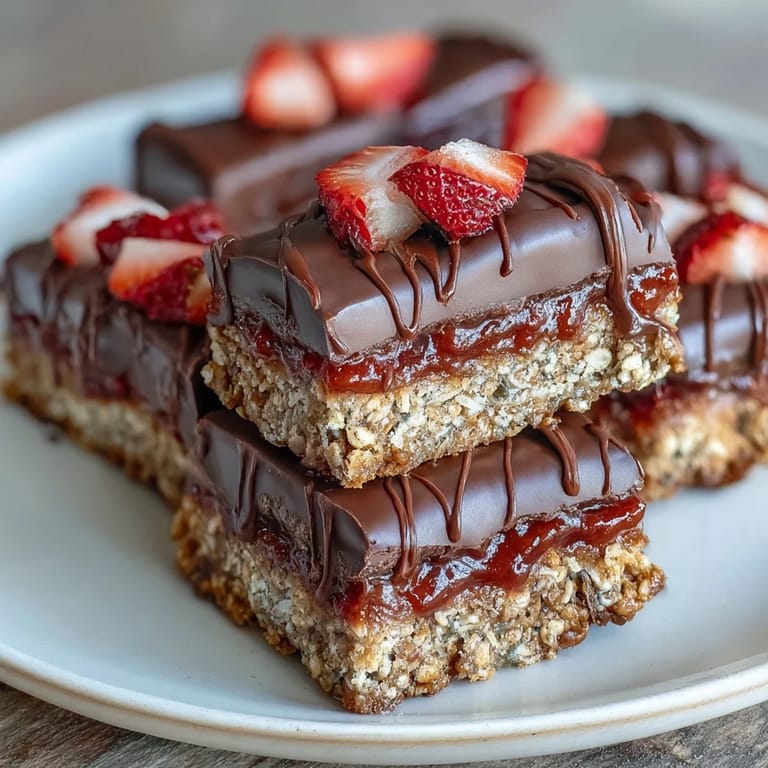
 My neighbor showed up with these bars last summer, still dripping with chocolate, and wouldn't tell me what made them so impossibly chewy. After some gentle interrogation and a promise to bake together, she finally shared her secret: a double layer of oats that frame the jam like edible bookends. The first bite was a revelation—nutty, fruity, and decadent all at once, with that satisfying snap when your teeth break through the chocolate shell.
I made these for a book club meeting on a whim, nervous that no-bake meant they'd fall apart or taste somehow unfinished. When one of the ladies bit into hers and got chocolate on her nose, then laughed about it, I knew they'd passed the test. That moment taught me that perfect desserts don't need an oven—they just need to bring people together.
Ingredients
- Old-fashioned rolled oats (2 cups): These deliver the chewy texture that makes these bars addictive; quick oats won't give you that same satisfying bite.
- Almond flour (1 cup): It adds richness and helps bind everything together while keeping things gluten-free friendly if that matters to you.
- Creamy peanut or almond butter (1/2 cup): This is your secret weapon for moisture and that nutty depth that makes people ask what's in them.
- Pure maple syrup or honey (1/4 cup): Either works beautifully; maple gives earthiness while honey lets the fruit shine through a bit more.
- Coconut oil, melted (1/4 cup): It keeps things vegan and adds a subtle tropical note that surprises people in the best way.
- Vanilla extract (1/2 tsp): Just enough to tie all the flavors together without announcing itself loudly.
- Salt (1/4 tsp): Never skip this—it wakes up every other flavor and makes the chocolate taste deeper.
- Strawberry preserves (3/4 cup): Low-sugar versions work because you're not competing with excessive sweetness; the jam should taste like actual fruit.
- Freeze-dried strawberries (1/2 cup, crushed): These add a subtle crunch and intensify the strawberry flavor without adding moisture that would make things soggy.
- Semi-sweet or dark chocolate (6 oz, chopped): Dark chocolate makes them feel grown-up; semi-sweet keeps them approachable for everyone.
- Coconut oil for chocolate (1 tbsp): This thins the chocolate just enough to drizzle smoothly without changing the flavor.
Tired of Takeout? 🥡
Get 10 meals you can make faster than delivery arrives. Seriously.
One email. No spam. Unsubscribe anytime.
Instructions
- Prep your pan like you mean it:
- Line your 8x8-inch pan with parchment, leaving some hanging over the edges—this is your lifeline for getting the bars out cleanly. Smooth out the creases gently so your base sits level.
- Build the base mixture:
- Combine your oats, almond flour, nut butter, maple syrup, melted coconut oil, vanilla, and salt in a bowl and stir until it looks like dense, sticky cookie dough. You'll know it's ready when it holds together when you squeeze it.
- Create the foundation:
- Take about two-thirds of that mixture and press it firmly into the pan with your hands or the back of a spoon, working from the center outward. Aim for an even layer that reaches into the corners—this base needs to be sturdy enough to hold what comes next.
- Add the strawberry heart:
- Spread your jam evenly over the oat base, then scatter those crushed freeze-dried strawberries on top. The jam should cover nearly everything, but leave a tiny border so the layers don't squeeze out when you press down.
- Top with the final layer:
- Crumble that reserved oat mixture with your fingers and scatter it over the jam, then gently press it down with your palm or the bottom of a measuring cup. You want it snug enough to hold together but not so compressed that it becomes dense.
- Melt the chocolate carefully:
- Place your chopped chocolate and coconut oil in a microwave-safe bowl and heat in 30-second bursts, stirring between each one. Stop as soon as it's smooth—overheating chocolate is like breaking a promise to your dessert.
- Finish with chocolate:
- Drizzle the melted chocolate across the top in whatever pattern makes you happy, or wait until the bars are cut and dip each one individually for a more decadent look. Either way, let it set slightly before moving forward.
- Chill and set:
- Refrigerate for at least 2 hours, though overnight is even better if you have the patience. The bars firm up beautifully and the flavors actually deepen as they sit.
- Release and slice:
- Use those parchment paper handles to lift the whole block out of the pan, then slice into 12 bars with a sharp knife dipped in warm water between cuts. This warm knife trick keeps the chocolate from cracking and the layers from smudging.
 Save Pin
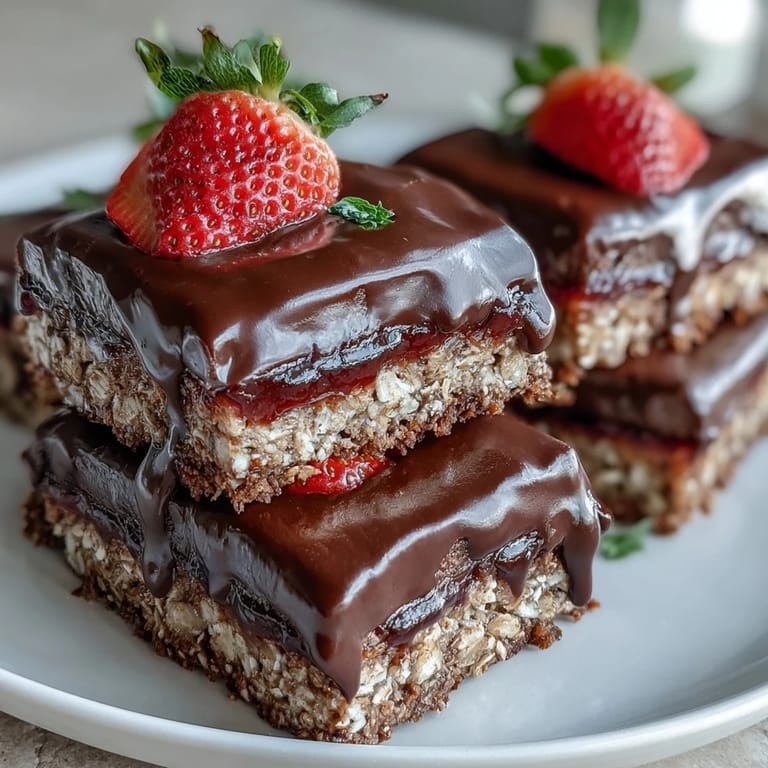
 There's something magical about biting through chocolate and immediately hitting that jam layer—it's like a surprise in every bite. That moment is why I keep making these, especially when someone I care about needs reminding that simple things done with intention taste the best.
Why the No-Bake Approach Works
Baking changes everything through heat and chemistry, but these bars rely on texture and patience instead. The oats soften slightly as they sit, absorbing moisture from the jam and butter, creating that chewy quality you'd normally chase in an oven. It's actually genius because you get more control—no risk of overbaking the edges while the middle stays underdone, no watching and wondering if they're done yet.
Flavor Combinations That Sing
The strawberry-and-chocolate pairing feels timeless for a reason, but what makes these bars special is how the oats act like a bridge between the two. That nutty base carries the fruit forward without letting it get lost, while the chocolate arrives like a smooth finish to a conversation. Freeze-dried strawberries add a whisper of concentrated flavor that regular jam alone couldn't deliver.
Storage and Keeping These Around
These bars get better as they sit, which is rare and wonderful for a dessert. The flavors mellow slightly while the texture becomes more uniform and deeply satisfying.
- Keep them in an airtight container in the fridge for up to a week, and they'll stay perfectly chewy the entire time.
- Freeze them individually wrapped in parchment for up to a month—just grab one whenever you need a moment of joy.
- If you find yourself pulling them out constantly, that's your sign to make a double batch next time because life's too short for regret.
 Save Pin
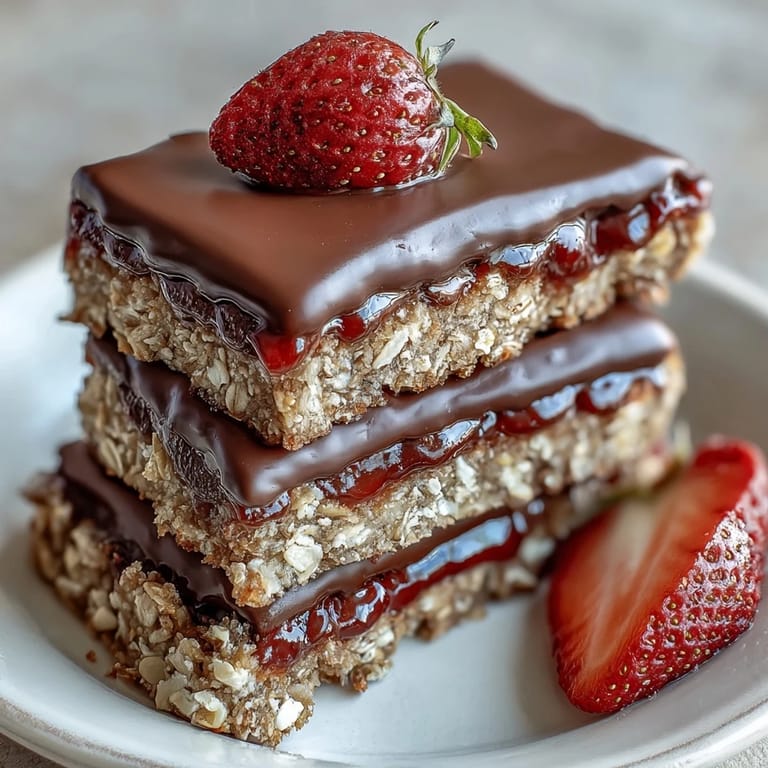
 These bars prove that the most memorable desserts don't require complicated techniques or exotic ingredients. They just need care and the willingness to let time do some of the work.
Recipe FAQs
- → Can I use a different nut butter?
Yes, almond or sunflower seed butter work well for this base, offering varied flavors and suitable options for nut allergies.
- → Is it possible to substitute the strawberry layer?
Raspberry or apricot preserves can be used to provide a different fruit flavor while maintaining the bar's moisture and sweetness.
- → How long should the bars chill before serving?
Chill for at least 2 hours or until firm to ensure the layers set properly and hold their shape when cut.
- → What type of chocolate is best for the topping?
Semi-sweet or dark chocolate combined with coconut oil melts smoothly and adds a rich finishing touch to the bars.
- → Can these bars be stored for later use?
Yes, keep refrigerated for up to one week or freeze for longer storage to maintain freshness and texture.