 Save Pin
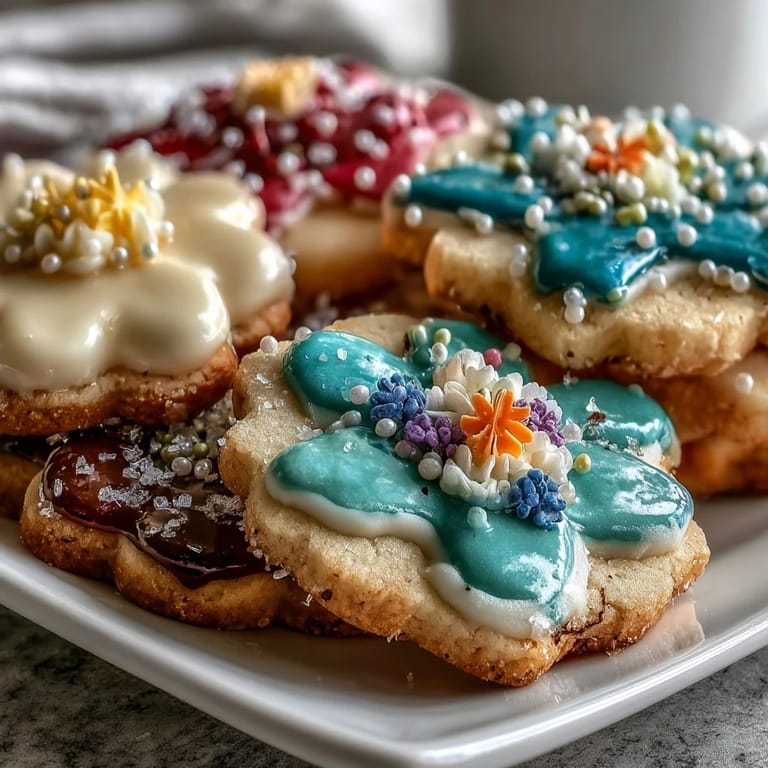
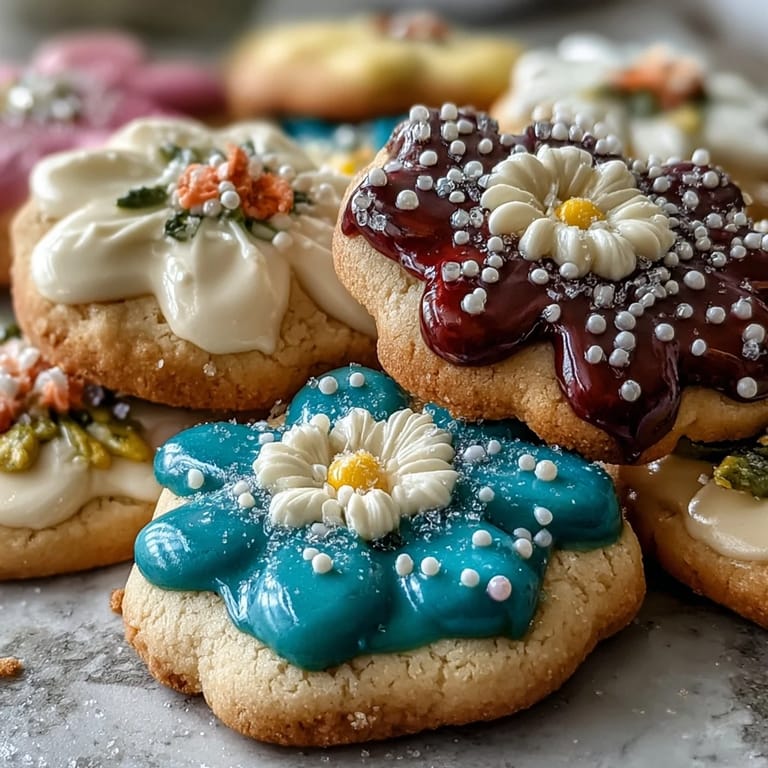
 Sometimes a burst of color in the kitchen is exactly what the week needs, and these flower-shaped shortbread cookies with royal icing deliver that splash of spring no matter the weather outside. One afternoon, music playing and windows cracked open, I found myself compelled to finally use the collection of flower-shaped cutters gathering dust in my drawer. It surprised me how calming it felt to press dough into delicate petals and imagine a garden on the baking sheet. The scent of vanilla and butter drifted through the kitchen, promising something cheerful would come of my efforts. Each finished cookie looked so playful it was impossible not to grin at the counter full of edible blossoms.
I remember the first time I brought a tray of these to a friend's picnic; icing flowers in pastel pinks, yellows, and blues had everyone believing I'd bought them from a fancy bakery. Kids snuck extra cookies behind their parents, and adults hovered nearby, admiring each detail. Seeing the cookies spark conversations and laughter made all the messy bowls and crowded countertops absolutely worth it. That day, I realized how much joy a homemade treat could scatter among a crowd. It's a recipe I now reach for whenever I want to make an ordinary gathering feel special.
Ingredients
- Unsalted butter: Using softened butter is key for a creamy dough that holds together beautifully and delivers a melt-in-your-mouth texture.
- Powdered sugar: I’ve found this lends the dough its delicate sweetness and a tender crumb, plus it blends smoothly with butter.
- Pure vanilla extract: Good vanilla deepens the buttery flavor—don’t skimp here for the best results.
- All-purpose flour: Sift your flour for the softest cookies; overpacking can make the dough tough.
- Salt: Just a pinch sharpens all the flavors without making the cookies taste salty.
- Meringue powder: This helps the royal icing set up glossy and smooth; quality matters if you want crisp designs.
- Food coloring: Gel colors work best for bright, vibrant icing with no off-flavor—just a drop or two is all you need.
Tired of Takeout? 🥡
Get 10 meals you can make faster than delivery arrives. Seriously.
One email. No spam. Unsubscribe anytime.
Instructions
- Cream the butter and sugar:
- Beat together the softened butter and powdered sugar until the mixture is pale and airy, catching all the creamy bursts in the bowl’s edges.
- Add vanilla and dry ingredients:
- Pour in the vanilla, then gently sift in the flour and salt, mixing until the dough just comes together—don’t overwork it, trust me.
- Chill the dough:
- Divide the dough into two even discs, wrap them snugly, and let them chill for at least 30 minutes so they’re easy to shape and won’t spread in the oven.
- Prepare for baking:
- While the dough chills, heat your oven to 350°F (175°C) and line baking sheets with parchment paper for easy cookie removal.
- Roll and cut:
- Sprinkle a bit of flour on your counter, roll out a disc to 1/4-inch thick, and cut out as many blossoming shapes as you like—reroll scraps gently so the cookies stay tender.
- Bake:
- Place shapes spaced apart and bake for 10–12 minutes, watching for just-blushing golden edges; your kitchen will start to smell warm and sweet as they finish.
- Cool:
- Let the cookies rest on the sheets for five minutes before moving them to a rack where they’ll crisp up as they cool.
- Mix the royal icing:
- Whisk the powdered sugar and meringue powder, dribbling in water until you get a thick but drizzle-able icing, smooth and lump-free—pause and scrape the bowl as needed.
- Dye and decorate:
- Divide the icing into bowls and tint each one with your favorite colors, then spoon into piping bags and decorate the cookies with petals, dots, or swirls. Once adorned, let the cookies air out until the icing sets firm to the touch.
 Save Pin
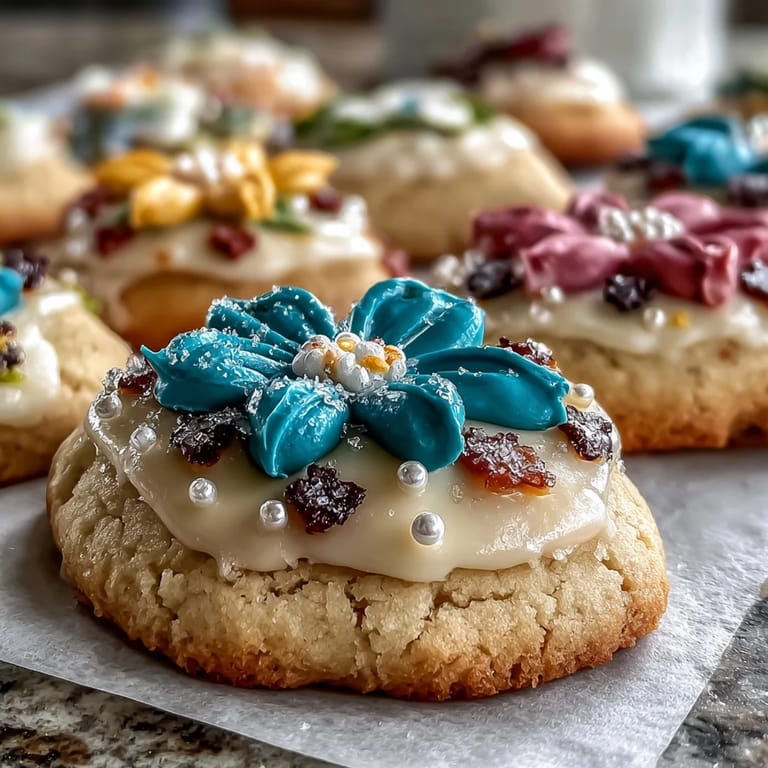
 One spring, these cookies turned my tiny apartment kitchen into an impromptu art studio as friends took turns piping their favorite colors onto buttery petals. When we finally sat around the coffee table, admiring our cookie bouquets and smudged fingers, it was clear the cookies created memories well before the first bite. Even after the cookies disappeared, the photos of our brightly decorated creations lived on. That night, laughter and a few crumbs lingered, making the simple act of baking feel important. It became my go-to for making small moments feel festive.
Decorating Made Fun (Even for Beginners)
The first time I attempted piping, my lines looked more like squiggles, but perfection really isn’t the point with these cookies. If your petals are a little uneven or the colors aren’t quite what you planned, they still look fantastic arranged on a plate. Setting up an icing station with a couple of piping tips, different colors, and a handful of creative impulses makes everyone excited to join. Kids especially delight in the freedom to try everything—even if some cookies get more sprinkles than others. Imperfect decorations just make them feel homemade and unique.
Tips for Stress-Free Rolling and Cutting
To save myself frustration, I chill the dough well and flour my rolling pin lightly, so nothing sticks as I make each press. Rolling in smaller batches keeps things manageable, and if the dough gets too soft, just pop it back in the fridge. Cookie cutter edges can get sticky after a few rounds, and a quick dusting with flour keeps the shapes clean. Gathering scraps for re-rolling works best if you don’t knead them—just press them lightly back together. Extra dough freezes well for spontaneous cookie sessions down the line.
Make-Ahead, Storage, and Gifting Ideas
These cookies become even more of a delight when you know how easy they are to make ahead or gift. They keep fresh for days in an airtight tin, making them perfect for last-minute springtime celebrations. Packaged in a clear bag with ribbon, they look as good as anything from the bakery.
- If you’re planning a party, bake and freeze the cookies, then ice them before serving.
- Add a dash of lemon zest to the dough for a subtle fresh note.
- Let icing set overnight so designs don’t smudge during wrapping.
 Save Pin
 I hope these cheerful spring cookies bring a bit of brightness to your kitchen and plenty of smiles to those you share them with. Sometimes, the most ordinary ingredients come together to brighten even the simplest days.