 Save Pin
 There's something almost meditative about making butter cookies on a quiet Sunday afternoon. My grandmother kept a tin of these in her kitchen, and I'd sneak them when visiting as a kid, drawn by that unmistakable buttery smell wafting from her cooling racks. Years later, I realized her secret wasn't fancy ingredients or complex techniques—just good butter, patience, and knowing when to stop mixing. Now I make them the same way, and somehow they taste like those childhood visits, crisp and tender and exactly right.
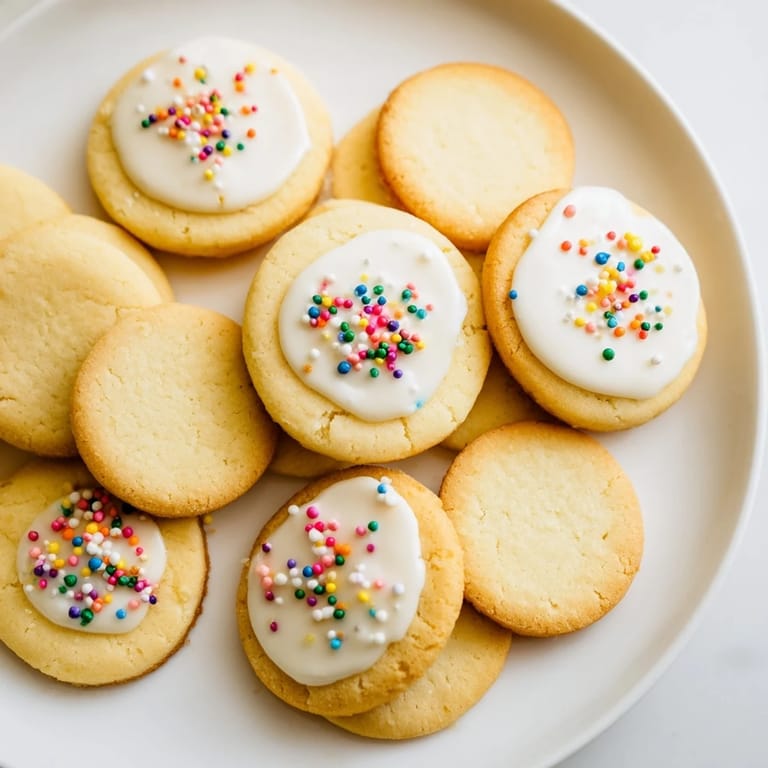
I made these for my neighbor's daughter's birthday party last spring, and watching her decorate them with icing and sprinkles taught me something: the best part of baking isn't always the eating. She was so focused, tongue poking out slightly, choosing exactly which cookies got which colors. By the end, half the icing was on her hands and the cookies, but she'd made something with her own two hands, and that mattered more than perfection ever could.
Ingredients
- Unsalted butter (1 cup, softened): This is the star—use good quality butter at room temperature so it creams properly and creates that light, airy base that makes these cookies tender.
- Granulated sugar (3/4 cup): It dissolves into the butter to create structure and sweetness without overpowering the delicate flavor.
- Large egg (1, room temperature): Cold eggs won't mix in smoothly, so let it sit out for 20 minutes before you start.
- Pure vanilla extract (2 teaspoons): This small amount gives warmth without making the cookies taste artificial or vanilla-heavy.
- All-purpose flour (2 1/4 cups): Sift it before measuring if you have time—it lightens the dough and prevents dense, tough cookies.
- Baking powder (1/2 teaspoon): Just enough to give them a gentle lift and keep them tender rather than dense.
- Fine sea salt (1/2 teaspoon): Even in sweet cookies, salt wakes up the butter flavor and balances everything out.
- Royal icing or glaze (optional): This is where decoration happens—let your creativity loose, or keep them plain and simple.
Tired of Takeout? 🥡
Get 10 meals you can make faster than delivery arrives. Seriously.
One email. No spam. Unsubscribe anytime.
Instructions
- Cream the butter and sugar:
- Beat them together in a large bowl for about 2-3 minutes until they're pale, fluffy, and almost cloud-like. You're aerating the butter, which is what makes these cookies light instead of dense.
- Add the egg and vanilla:
- Mix them in slowly, scraping down the bowl so everything combines evenly. If it looks curdled, don't panic—it'll come together once you add the flour.
- Combine dry ingredients separately:
- Whisk the flour, baking powder, and salt together in another bowl. This distributes the leavening evenly so you don't get any bitter spots.
- Bring it together gently:
- Add the dry mixture to the wet mixture and stir just until combined—overmixing develops gluten and makes cookies tough. Stop as soon as you don't see streaks of flour.
- Chill the dough:
- Divide it in half, shape into disks, wrap, and refrigerate for at least an hour. Cold dough is much easier to roll and cut, and it bakes more evenly.
- Preheat and prepare:
- Set your oven to 350°F and line your baking sheets with parchment paper. Parchment prevents sticking and ensures even browning.
- Roll and cut:
- Work with one dough disk at a time on a lightly floured surface, rolling to about 1/4-inch thickness. Use whatever cookie cutters make you happy—shapes, sizes, it all works.
- Space them properly:
- Arrange cookies about 1 inch apart on the prepared sheets. They won't spread much, but air circulation around each one helps them bake evenly.
- Bake until golden:
- Bake for 10-12 minutes, watching for the edges to turn just golden while the centers stay pale. They'll firm up as they cool, so don't overbake.
- Cool in stages:
- Let them rest on the baking sheets for 5 minutes to set, then transfer to wire racks to cool completely. This prevents them from breaking and keeps them crisp.
- Decorate your way:
- Once completely cool, ice and decorate however you like, or leave them plain. Either way, they're beautiful.
 Save Pin
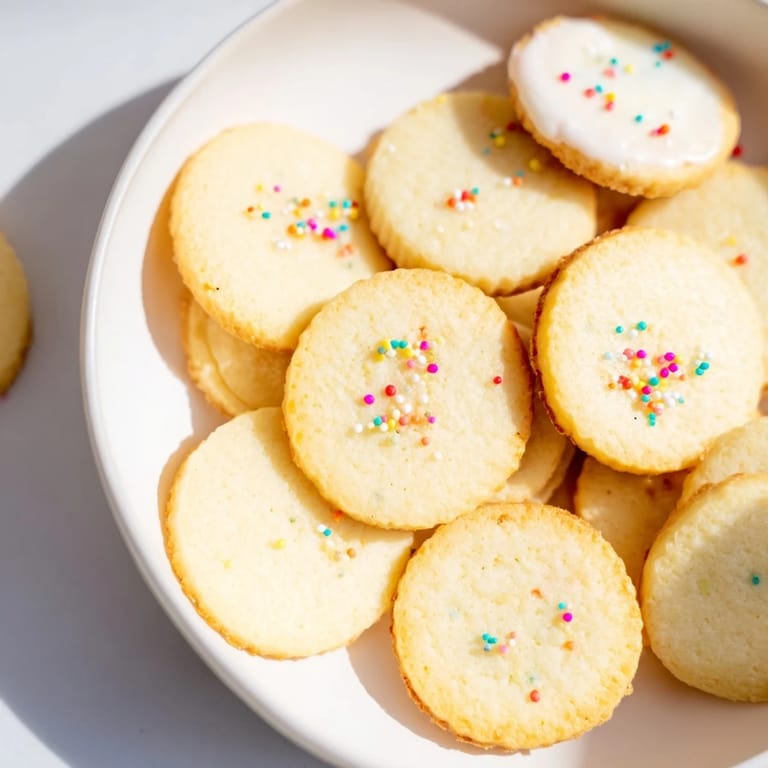
 I learned the value of these cookies when my mother was recovering from surgery and didn't feel like eating much. A batch of plain butter cookies was the first thing she asked for, and she'd nibble one with her tea while we talked. There was something about their simplicity and richness that felt comforting when nothing else did. Food can be nourishment, yes, but sometimes it's just a quiet way of saying, I'm thinking of you.
Variations and Flavor Ideas
Once you master the basic dough, the possibilities open up. A friend of mine adds a touch of almond extract instead of vanilla, and it transforms the whole cookie into something more sophisticated and slightly floral. You can fold in finely chopped pistachios, press a candied lemon slice on top before baking, or dust them with cardamom sugar while they're still warm. The base recipe is so forgiving that experimenting becomes part of the fun.
Making Ahead and Storage
One of my favorite things about these cookies is their flexibility with timing. You can make the dough weeks ahead and keep it in the freezer, baking just a few cookies whenever you need them fresh. I often prepare two disks on a Sunday evening, and then on Thursday morning when unexpected guests arrive, I can have warm cookies ready in under 30 minutes. Even baked cookies keep well in an airtight container for a week, though they rarely last that long in my house.
Pairing and Serving
These cookies shine alongside a cup of strong coffee or a delicate tea, and they're just fancy enough to serve at a small gathering without fuss. I've wrapped them in tissue paper and given them as small gifts, decorated them for holidays, and piled them on a plate for casual weeknight desserts. They pair surprisingly well with dessert wine too, if you're feeling indulgent, though honestly they don't need anything to make them special.
- For gift-giving, bake them a day ahead so they have time to develop their crispest texture.
- Store decorated cookies and plain ones separately to prevent icing from softening the plain ones.
- If they soften from humidity, pop them in a 250°F oven for 5 minutes to re-crisp them.
 Save Pin
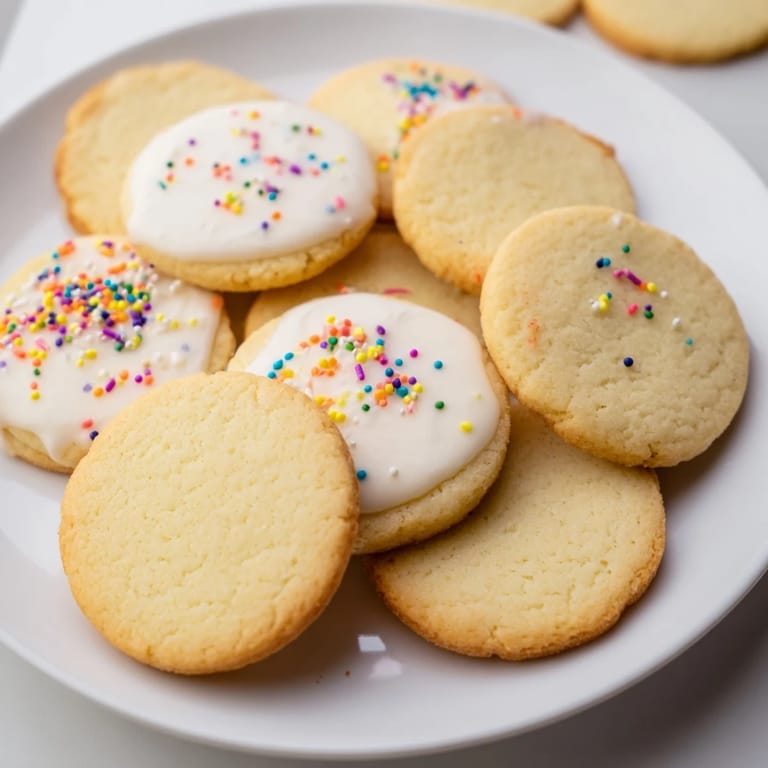
 Butter cookies are one of those recipes that asks very little of you but gives back warmth, comfort, and the simple joy of something beautiful you made with your own hands. They're worth making again and again.
Recipe FAQs
- → What gives the shortbread its rich flavor?
The softened unsalted butter combined with granulated sugar and vanilla extract creates the rich, buttery flavor and tender crumb characteristic of these shortbread.
- → How should the dough be handled before baking?
The dough is divided, shaped into disks, wrapped, and chilled for at least an hour to firm up, ensuring easier rolling and cleaner cookie shapes.
- → Can these cookies be decorated?
Yes, once fully cooled, they can be adorned with royal icing, glaze, sprinkles, or sanding sugar to add color and texture.
- → What baking temperature is recommended?
Preheat the oven to 350°F (175°C) and bake the cookies for 10-12 minutes until the edges are lightly golden.
- → Are there any gluten-free options?
A gluten-free flour blend can replace all-purpose flour in the same quantity to accommodate gluten sensitivities.
- → How long does chilling the dough improve the result?
Chilling the dough for at least one hour firms it up, prevents spreading during baking, and enhances the final texture.