 Save Pin
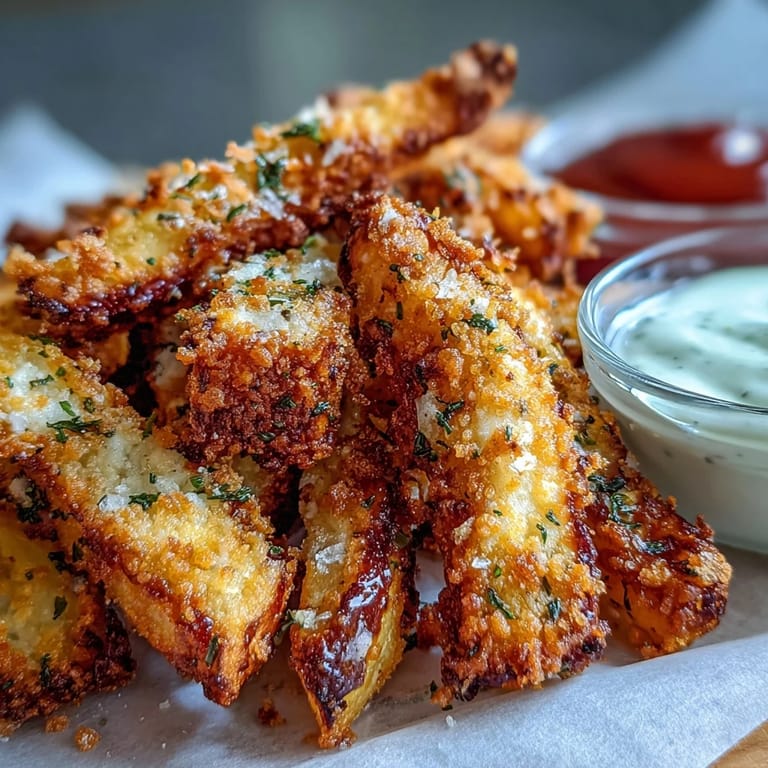
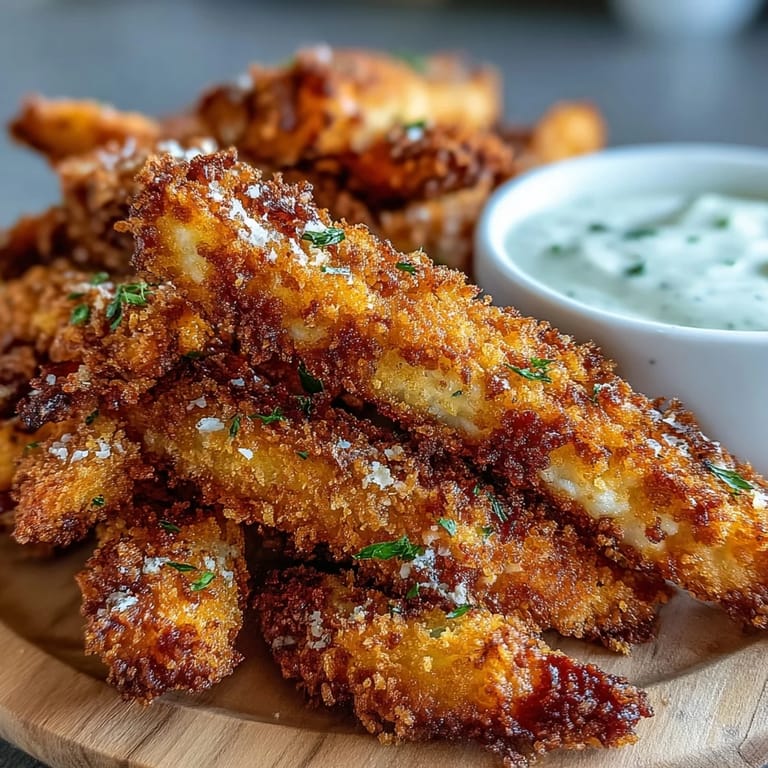
 My kid came home from school raving about chicken tenders from the cafeteria, and I knew I could do better. One Saturday afternoon, I sliced chicken breasts into fries and coated them in a Parmesan crust, thinking it might be fun to serve something familiar but homemade. The moment they came out of the oven, golden and crackling, I realized I'd stumbled onto something special that would become a regular request at our dinner table.
I'll never forget making these for a potluck on a rainy Tuesday evening, frantically getting them ready while my partner set the table. Someone asked for the recipe before they'd even finished eating, and I realized these weren't just a weeknight solution anymore—they'd become the kind of dish people actually wanted to recreate at home.
Ingredients
- Chicken breasts: Buy them fresh and slice them yourself rather than using pre-cut strips, because you control the thickness and they coat more evenly.
- Panko breadcrumbs: These give a lighter, crunchier texture than regular breadcrumbs, and they brown faster without burning.
- Parmesan cheese: Freshly grated if you can manage it, since pre-grated versions contain anti-caking agents that can affect the coating's texture.
- Garlic powder and dried Italian herbs: Don't skip these small amounts—they're the difference between tasty and actually memorable.
- Eggs and milk: The milk thins the egg just enough to create a thinner, more even coating layer.
- Marinara and ranch: Use good quality dips if buying them, or make your own ranch from scratch if you want to control the flavor.
Tired of Takeout? 🥡
Get 10 meals you can make faster than delivery arrives. Seriously.
One email. No spam. Unsubscribe anytime.
Instructions
- Heat your oven and prep the surface:
- Get to 425°F and line your baking sheet with parchment paper—this step prevents sticking and makes cleanup almost painless. A hot oven means crispier results in less time.
- Slice the chicken into fries:
- Aim for strips about the thickness of actual French fries, working lengthwise along the breast for longer pieces. This size matters because they cook through evenly without the exterior overdrying.
- Set up your breading station:
- One bowl for the egg mixture, one for the breadcrumb blend—keeping them separate and organized makes the next step smooth and prevents double-dipping confusion. Arrange them left to right so you naturally flow through the process.
- Coat each strip with care:
- Dip in egg first, let excess drip off, then roll through the breadcrumb mixture and make sure every side gets coverage. Press gently so the coating adheres rather than just sliding around.
- Arrange and add the oil kiss:
- Lay them flat on the sheet in a single layer, not touching, then spray or drizzle lightly with oil. This is the secret to crispiness—you're not frying them, but the oil helps that exterior turn golden.
- Bake with a flip halfway through:
- At around 12 minutes, use tongs to flip each piece gently so both sides brown evenly. The total time is about 20 to 25 minutes until they're golden brown and the internal temperature hits 165°F.
- Serve immediately while they're still crackling:
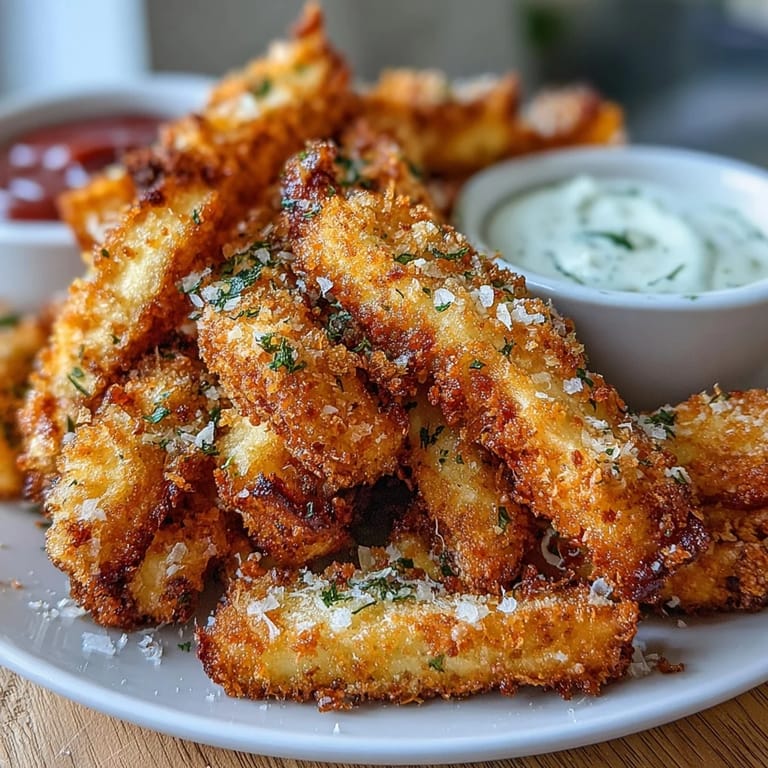
- Transfer to a plate, garnish with fresh parsley if you want to feel fancy, and serve with warm marinara and cool ranch waiting nearby. They're best enjoyed fresh from the oven when the contrast between crispy outside and tender inside is at its peak.
 Save Pin
 There's something about watching someone's face light up when they realize these are baked, not fried, and they taste even better. It's the moment cooking stops being about following instructions and starts being about creating something people genuinely look forward to eating.
The Breadcrumb Difference
I've tested these with regular breadcrumbs, panko, and even crushed crackers, and panko wins every single time. The larger, flakier structure of panko breadcrumbs creates air pockets that crisp up in the oven, while finer breadcrumbs compact into a dense, almost breading-like shell that doesn't have that satisfying crunch.
Customizing Your Coating
The base recipe is forgiving, and once you make it a few times, you start experimenting naturally. I've added everything from a pinch of cayenne pepper for heat to lemon zest for brightness, and everything works because the Parmesan acts as an anchor that holds the flavors together instead of letting them scatter.
Storage and Reheating Wisdom
Leftovers stay crispy if you reheat them properly, which means back in the oven rather than the microwave. A quick 5 to 8 minutes at 400°F restores that golden exterior and makes them taste almost as good as fresh, though honestly, these rarely last long enough to worry about leftovers.
- Store cooled strips in an airtight container in the fridge for up to three days before reheating.
- You can freeze uncooked breaded strips on a baking sheet, then transfer to a freezer bag, and bake directly from frozen—just add a few extra minutes to the cooking time.
- The dips are always better served cold against the warm chicken, so chill them while the strips bake.
 Save Pin
 These chicken fries have become one of those recipes I make without thinking, the kind that appears on the table when people need comfort food that also happens to be good for them. There's something quietly satisfying about that.
Recipe FAQs
- → What makes the coating extra crispy?
Panko breadcrumbs create a lighter, crunchier texture than regular breadcrumbs. The combination of panko with Parmesan cheese and a light spray of oil before baking ensures maximum crispiness without deep frying.
- → Can I air fry these instead of baking?
Yes, air fry at 200°C (400°F) for 12-15 minutes, shaking halfway through. The cooking time may vary slightly depending on your air fryer model and thickness of the strips.
- → What other dipping sauces work well?
Beyond marinara and ranch, try garlic aioli, honey mustard, spicy arrabbiata, or a lemon-herb yogurt sauce. The neutral savory profile pairs well with both creamy and acidic dips.
- → How thin should I slice the chicken?
Aim for strips about 1/2 to 3/4 inch thick—similar to steak fries. This ensures even cooking and maintains moisture inside while allowing the exterior to get properly crispy.
- → Can I prepare these ahead of time?
Bread the strips up to 4 hours ahead and refrigerate on the baking sheet, covered. Bake just before serving. Leftovers reheat beautifully at 200°C for 5-8 minutes to restore crispiness.
- → What sides complement this dish?
A crisp green salad with vinaigrette balances the richness. Roasted vegetables, garlic bread, or steamed broccoli also work well. For a complete meal, add a simple pasta side.