 Save Pin
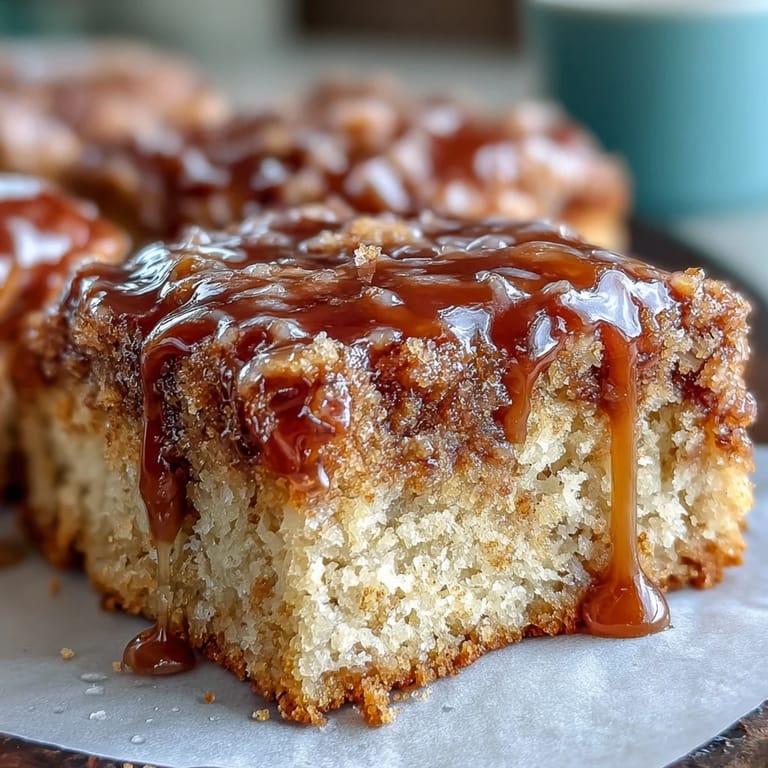
 The first time I made these maple donut bars, my kitchen smelled like a cozy autumn morning in Vermont. I had been craving something sweet and comforting, but I didn't want to commit to frying actual donuts. These bars ended up being the perfect compromise—soft, cakey, and dripping with that distinctive maple sweetness that makes everything feel like a special occasion.
I brought these to a brunch gathering last fall, and my friend Sarah actually asked if I'd secretly bought them from a fancy bakery. Watching everyone's eyes light up when they took that first bite—the way the maple flavor hits you immediately—made me realize this recipe was a keeper. Now they're my go-to whenever I need something that feels indulgent but doesn't require me to wake up at dawn.
Ingredients
- All-purpose flour: The foundation that gives these bars their tender crumb—measure by weight if you can for consistent results
- Granulated sugar: Sweetens the batter while keeping the texture light and fluffy
- Baking powder: Essential for that characteristic donut-like rise
- Salt: Balances the sweetness and enhances all the warm spices
- Ground cinnamon: Adds warmth that pairs beautifully with maple
- Ground nutmeg: A pinch goes a long way—this spice is what makes it taste like a real donut
- Unsalted butter: Melted butter creates a moist, tender texture that oil just can't replicate
- Whole milk: Makes the bars richer and more tender than skim or alternative milks
- Large eggs: Room temperature eggs incorporate better and help the batter rise properly
- Vanilla extract: Rounds out all the flavors and adds depth
- Pure maple syrup: The star of the show—real maple syrup makes all the difference here
- Powdered sugar: Creates the smooth, thick glaze that sets perfectly on top
- Milk for glaze: Adjust this to get your ideal drizzling consistency
- Extra maple syrup: For that final beautiful drizzle that makes these bars look bakery worthy
Tired of Takeout? 🥡
Get 10 meals you can make faster than delivery arrives. Seriously.
One email. No spam. Unsubscribe anytime.
Instructions
- Get your oven ready:
- Preheat to 350°F and grease your 9x13 pan thoroughly—these bars can stick if you're not careful
- Whisk the dry mixture:
- Combine flour, sugar, baking powder, salt, cinnamon, and nutmeg in a large bowl until everything is evenly distributed
- Blend the wet ingredients:
- Whisk melted butter, milk, eggs, vanilla, and maple syrup until the mixture looks smooth and silky
- Bring it together:
- Pour the wet ingredients into the dry and fold gently—stop as soon as you no longer see dry streaks
- Spread and bake:
- Even out the batter in your prepared pan and bake 25 to 30 minutes until golden and a toothpick comes out clean
- Cool completely:
- Let the bars rest 10 minutes in the pan, then move them to a wire rack—patience here pays off
- Make the magic glaze:
- Whisk powdered sugar with 1 tablespoon milk, adding more as needed until thick but pourable, then stir in the maple syrup
- Finish with flair:
- Drizzle the glaze over completely cooled bars and add that extra maple syrup drizzle if you're feeling fancy
- Let it set:
- Wait 10 to 15 minutes for the glaze to firm up slightly before slicing into bars
 Save Pin
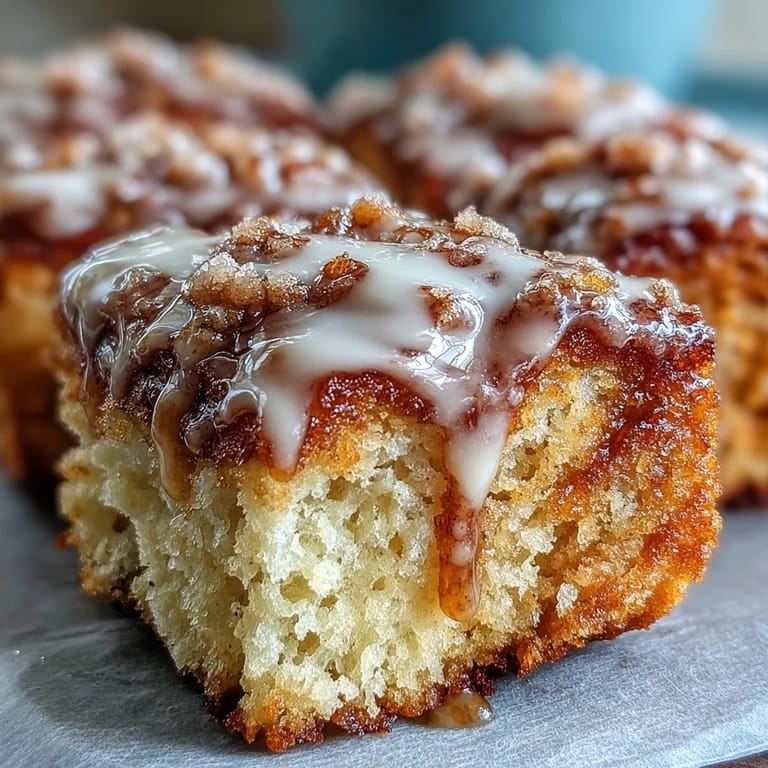
 My daughter now requests these for every special occasion, and I've started keeping the ingredients stocked just in case. There's something about the combination of warm spices and sweet maple that turns an ordinary Tuesday morning into something worth celebrating.
Making These Your Own
Sometimes I like to add a handful of chopped pecans to the batter for extra crunch and flavor. You could also swap some of the cinnamon for pumpkin pie spice if you want even more warmth. Just remember that adding mix ins might require an extra minute or two of baking time.
Storage Secrets
These bars actually taste better on day two—the flavors have time to meld and the glaze soaks into the top layer. Store them in an airtight container at room temperature, and they'll stay fresh for three days. If you need to keep them longer, the fridge works but bring them to room temperature before serving.
Serving Suggestions
These are perfect alongside a hot cup of coffee or a cold glass of milk. I've also served them as dessert with a scoop of vanilla ice cream and a drizzle of warmed maple syrup. They're versatile enough for breakfast, brunch, or an afternoon treat.
- Warm leftover bars in the microwave for 10 seconds before serving
- Sprinkle a little sea salt over the glaze while it's still wet for a salted maple version
- Package individual bars in wax paper for easy grab and go snacks
 Save Pin
 These maple donut bars have become one of those recipes I can make without even thinking, and they never fail to make people smile. There's something deeply satisfying about turning simple pantry ingredients into something that feels so special and comforting.
Recipe FAQs
- → Can I make these ahead of time?
Yes! These bars keep beautifully in an airtight container at room temperature for up to 3 days. The glaze stays fresh and the texture remains soft. You can also freeze unglazed bars for up to 2 months and add the glaze after thawing.
- → What's the best way to get the glaze consistency right?
Start with 1 tablespoon of milk in your powdered sugar mixture. The glaze should be thick yet pourable—like honey. Add more milk just 1 teaspoon at a time until you reach the perfect spreading consistency that won't run off the edges.
- → Can I substitute the maple syrup?
While maple syrup provides the signature flavor, you can use honey in the batter and glaze. For the glaze specifically, corn syrup with maple extract works as an alternative. The taste will differ but you'll still get that sweet, glossy finish.
- → Why do my bars sometimes turn out dense?
Overmixing the batter is the most common cause of dense bars. Gently fold the wet and dry ingredients together until just combined—a few streaks of flour are okay. Also, ensure your baking powder is fresh and you're measuring flour properly, not packing it down.
- → What size pan should I use?
A 9×13 inch baking pan is ideal for this recipe, giving you bars that are about 1 inch thick. Using a smaller pan will make thicker bars that may need extra baking time, while a larger pan will yield thinner ones that could dry out.
- → Can I add mix-ins to the batter?
Absolutely! Chopped pecans or walnuts complement the maple flavor beautifully. You could also fold in cinnamon chips or add a crumb topping for extra texture. Keep mix-ins to about ½ cup total to maintain the soft, tender texture.