 Save Pin
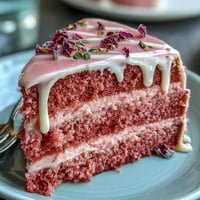
 My kitchen smelled like butter and vanilla the afternoon my niece asked if I could make something she'd only seen in magazines—a cake that looked like a sunset. I'd never attempted an ombre cake before, but there was something about the challenge that excited me, the way she'd described those soft color gradations melting into each other. Three hours later, when I pulled those layers from the oven and started building the gradient with buttercream, I understood why she'd been so captivated. This isn't just a cake; it's proof that patience and a little food coloring can turn something ordinary into something that makes people pause before they eat it.
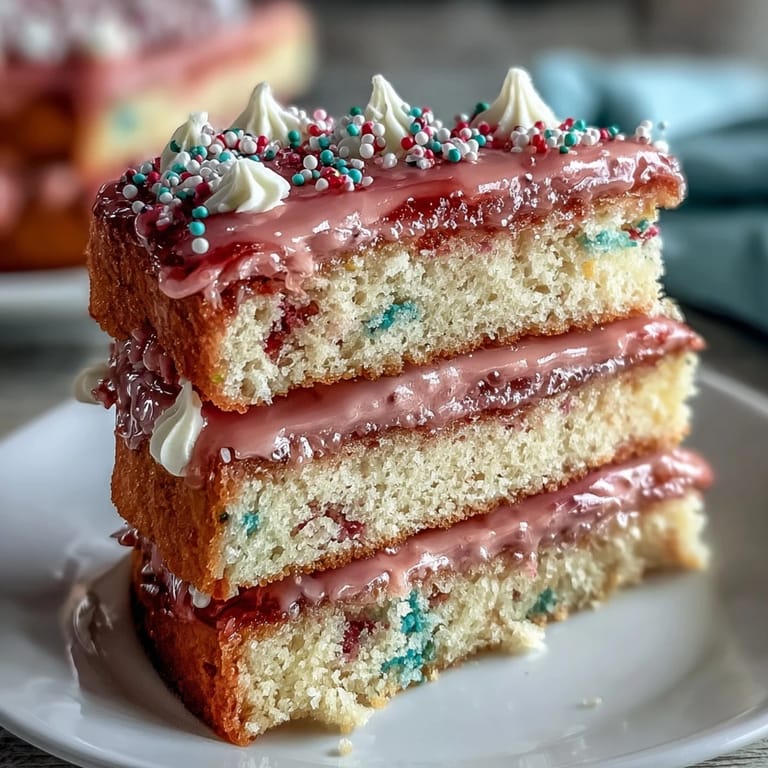
I made this cake for a spring bridal shower last year, and watching guests photograph it before cutting into it was its own kind of magic. One woman said she almost didn't want to slice it, which made me laugh—that's when you know you've created something memorable. The pale yellow and pink layers against white frosting somehow felt both elegant and joyful, like the cake was celebrating alongside everyone in the room.
Ingredients
- All-purpose flour (3 cups): This is your cake's foundation, and sifting it with the baking powder ensures even rise and tender crumb.
- Baking powder (2 ½ tsp): Don't skip the measurement; too much makes the cake collapse, too little leaves it dense.
- Salt (½ tsp): Enhances vanilla and keeps sweetness from being one-dimensional.
- Unsalted butter (1 cup for batter, 1 ½ cups for frosting): Room temperature is non-negotiable—cold butter won't cream properly and your cake loses that light texture.
- Granulated sugar (2 cups): Creaming this with butter for 3-4 minutes creates air pockets that make the cake tender.
- Eggs (4 large, room temperature): Cold eggs don't incorporate smoothly, which affects your final crumb structure.
- Vanilla extract (1 tbsp for batter, 2 tsp for frosting): Use pure vanilla; imitation versions taste tinny in delicate cakes.
- Whole milk (1 cup, room temperature): The temperature matters because it helps ingredients emulsify without breaking.
- Gel food coloring (pink and yellow): Gel colors don't add liquid like drops do, which means your batter stays the right consistency and colors stay vibrant.
- Powdered sugar (5 cups, sifted): Sift before measuring or you'll end up with lumpy frosting that never smooths properly.
- Milk or heavy cream (3-4 tbsp): Start with 3 and add gradually; humidity affects how much you actually need.
Tired of Takeout? 🥡
Get 10 meals you can make faster than delivery arrives. Seriously.
One email. No spam. Unsubscribe anytime.
Instructions
- Set yourself up for success:
- Preheat your oven to 350°F and prepare three 8-inch round pans with parchment paper. Having everything ready means you're not scrambling once the batter comes together.
- Build your dry base:
- Whisk flour, baking powder, and salt in a medium bowl. This distributes the leavening evenly and prevents streaks of baking powder in your finished cake.
- Cream the butter and sugar:
- Beat these together on medium speed for about 3-4 minutes until the mixture is pale and fluffy—you're literally whipping air into the butter. This is where your cake's tender crumb begins.
- Add eggs carefully:
- Add them one at a time, beating well after each, so they emulsify into the butter rather than sitting as separate pockets. This takes patience but makes a difference.
- Alternate wet and dry ingredients:
- Begin and end with flour, mixing just until combined—overmixing develops gluten and makes the cake tough. The batter should look smooth but still feel tender.
- Create your color story:
- Divide batter into three bowls. One gets a small amount of pink gel coloring, one gets pale yellow, and the third stays plain or becomes a gentle peach. Start light; you can always deepen the color but you can't undo it.
- Bake with attention:
- Pour each colored batter into its prepared pan, smooth the tops, and bake for 22-26 minutes until a toothpick inserted in the center comes out clean. Every oven runs differently, so start checking around the 22-minute mark.
- Cool patiently:
- Let cakes cool in pans for 10 minutes, then turn out onto wire racks. This prevents them from baking further and keeps them from drying out.
- Make the frosting:
- Beat room-temperature butter until creamy, then gradually add sifted powdered sugar, vanilla, salt, and milk. Beat until fluffy and smooth—this usually takes about 2-3 minutes once everything is combined.
- Divide and color your frosting:
- Split the frosting into three bowls and tint them to match your cake layers: pastel pink, pale yellow, and plain. The colors should be soft and whisper-like, not bold.
- Build the layers:
- Place your yellow cake layer on the serving plate, spread with yellow buttercream, then add the middle layer (peach or plain) with plain frosting, and top with pink layer and pink frosting. Level your cake layers first if they're domed on top.
- Create the ombre magic:
- This is where patience becomes an art form. Use your offset spatula to spread frosting around the sides, blending from yellow at the base to pink at the top. A cake scraper helps smooth the transition, but even a spatula works if you're gentle and take your time.
- Finish and chill:
- Decorate with pastel sprinkles, edible flowers, or whatever speaks to you. Pop the cake in the fridge for at least 30 minutes before slicing for clean, beautiful cuts.
 Save Pin
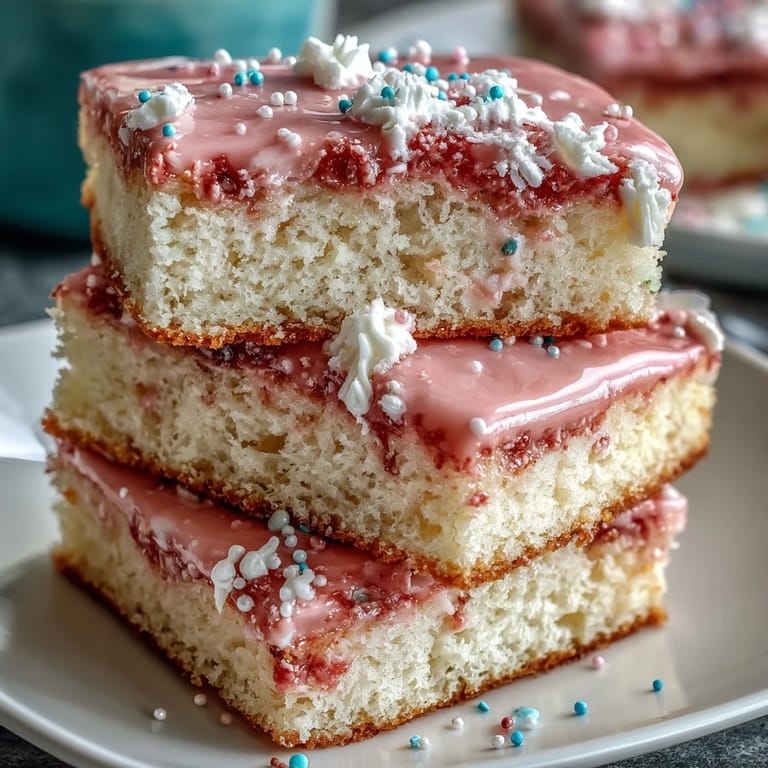
 There's a moment I always get when someone cuts into this cake for the first time and sees those three distinct layers with the swirled frosting. Their face changes—surprise, delight, sometimes wonder. That reaction, the way food can do something beyond nourish us, is why I keep coming back to this recipe.
Choosing Your Colors Wisely
The pastel ombre effect only works if you respect the subtlety. I learned this the hard way after adding too much coloring to my second attempt and ending up with a cake that looked more tropical than spring. Start with a toothpick's worth of gel color, mix it in, and hold the batter up to natural light to see how it actually looks—artificial kitchen light can trick you into thinking it's darker than it is. The beauty of this cake lives in those soft, whisper-quiet gradations, not in saturated boldness.
The Frosting Blending Technique
After a few attempts, I realized the ombre sides are less about having a perfect gradient tool and more about patience and a flexible spatula. The trick is to work in sections: frost a vertical strip of yellow, then overlap it slightly with a strip of the middle color, then the pink, then use clean strokes to blend where they meet. It takes longer than painting a single color, but watching the colors merge smoothly is deeply satisfying. Some bakers use a bench scraper, which helps, but honestly, a regular offset spatula works just as well if you're willing to take your time.
Storage and Serving Suggestions
This cake actually tastes better the next day, once all the layers have settled and the flavors meld slightly. Store it covered at room temperature if you're serving it within a few hours, or move it to the fridge if you're making it ahead. It keeps beautifully for up to four days refrigerated, and slicing is easier when the cake is cool, so chill it for at least 30 minutes before cutting no matter when you made it. The buttercream frosting holds up well, though if your kitchen is particularly warm, refrigeration is your friend. Serve slightly chilled or at room temperature—both ways are lovely, though room temperature lets the vanilla shine through more clearly.
- If you're transporting this cake, place it in a sturdy box and keep it as level as possible to prevent the frosting from sliding.
- Edible flowers or delicate pastel sprinkles add visual interest without overwhelming the soft color story.
- This cake pairs beautifully with something light—sparkling lemonade, Moscato, or even a simple cup of tea.
 Save Pin
 Making this cake has taught me that beautiful things don't have to be complicated—they just need intention and a willingness to slow down. I hope this becomes your version of a celebration cake too.
Recipe FAQs
- → How do I achieve the ombre effect in the layers?
Divide the batter into three portions and tint each with pink, yellow, or leave plain for a soft pastel gradient. Bake each layer separately and stack in color order.
- → What type of food coloring works best?
Gel food coloring is recommended as it provides vibrant colors without altering batter consistency.
- → Can I prepare the frosting ahead of time?
Yes, buttercream frosting can be made in advance and stored covered in the refrigerator. Bring it to room temperature and re-whip before use.
- → What is the best way to layer the frosting?
Spread colored buttercream between each cooled cake layer, matching the colors to the cake's ombre tones. Use a scraper to blend sides smoothly for gradient effect.
- → How should the finished cake be stored?
Keep the cake covered at room temperature for up to one day, or refrigerate for up to four days to maintain freshness.